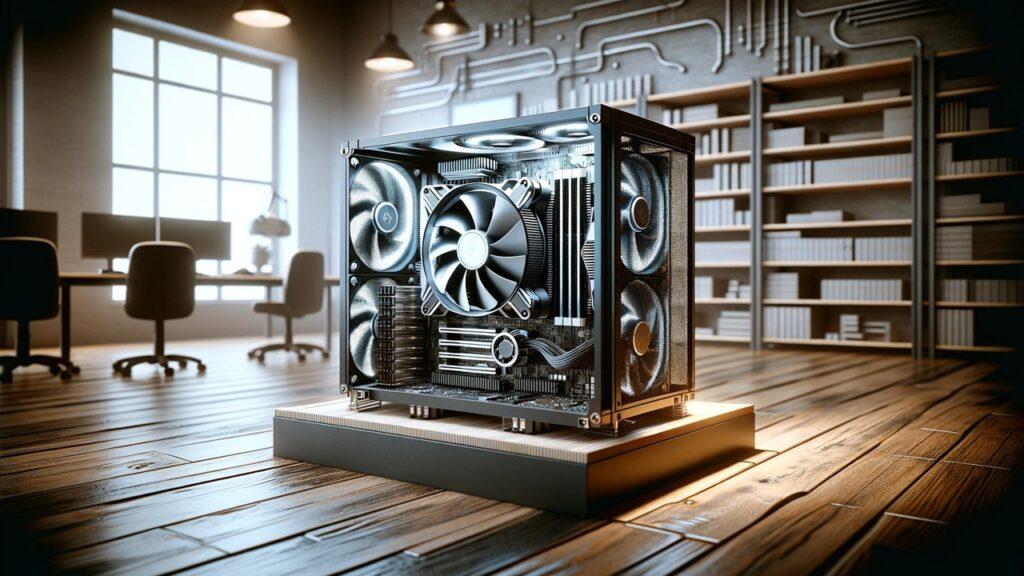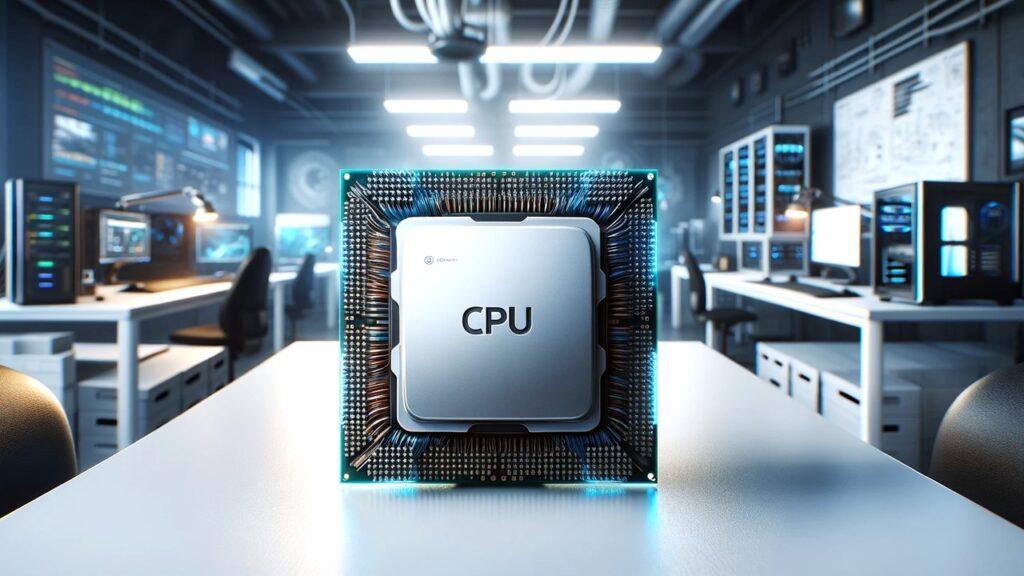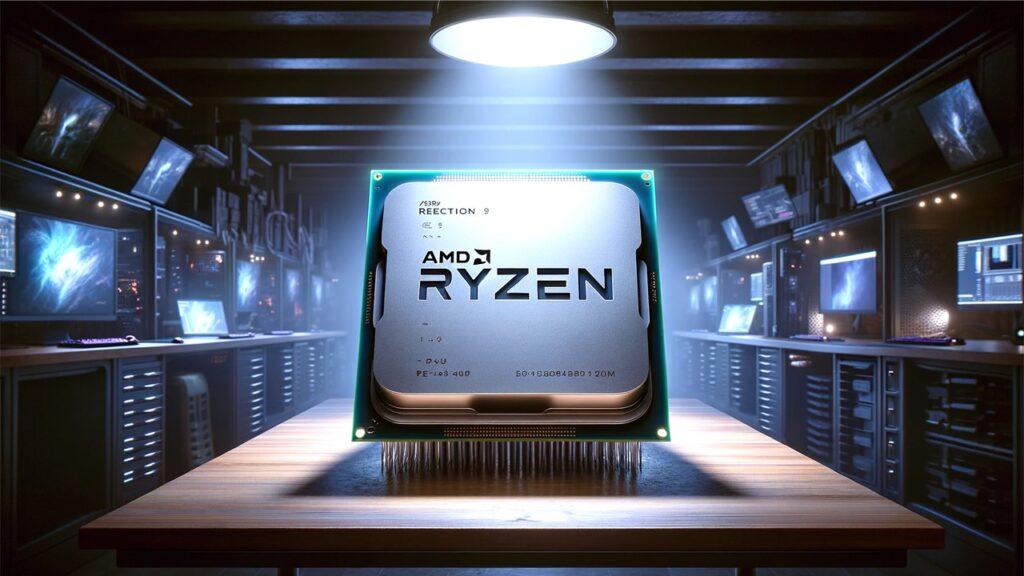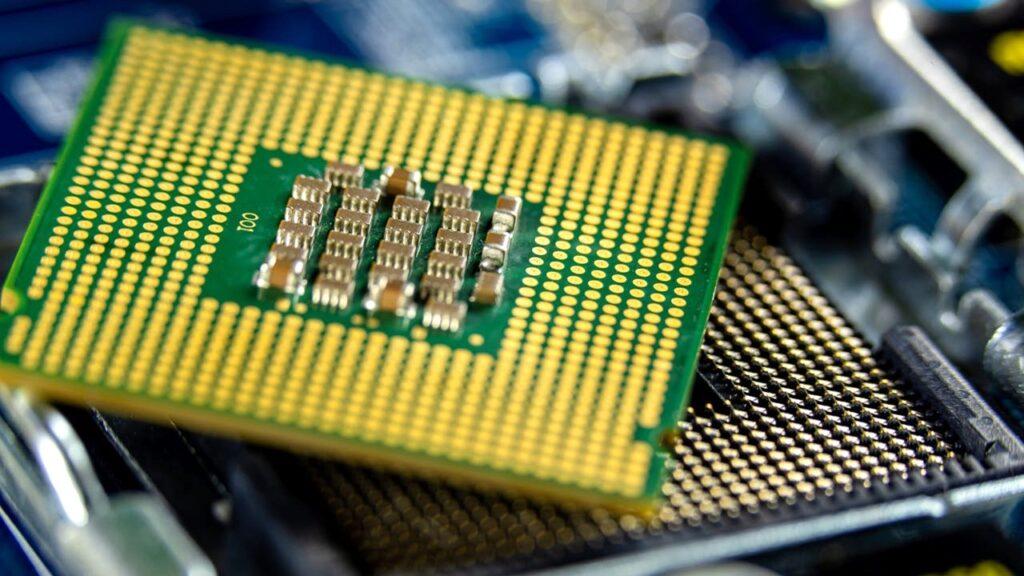
Diving into the world of DIY PC building promises a fulfilling journey, whether you’re driven by a passion for technology or a desire to economize. It’s a gratifying pursuit demanding both meticulousness and a touch of expertise. Avoiding common DIY CPU installation mistakes is pivotal in turning components into a functioning powerhouse. Diving into the heart of your computer, the CPU installation, is where the true challenge lies. It’s here that the slightest misstep can turn excitement into frustration. By arming yourself with the right information and techniques, you can ensure your build starts off on the right foot, leveraging benefits such as customized capabilities and potential cost savings. Let’s embark on this informative journey together, making sure every step is clear, concise, and mistake-free.
What You Need Before You Start Preparing for CPU Installation
Embarking on the path of building your own computer begins with a solid foundation of necessary tools and components. Understanding exactly what you need before you start is crucial to avoiding mistakes during DIY CPU installation. Whether you’re a seasoned builder or a first-timer, having the right set of tools at your disposal not only makes the process smoother but also ensures that every component fits perfectly as intended.
You’ll need a variety of tools, from screwdrivers to anti-static wristbands, to handle your components safely. The list includes Phillips head screwdrivers, thermal paste, an anti-static mat, and perhaps most importantly, a non-conductive workspace. These tools are your first line of defense against common pitfalls that could otherwise jeopardize your build.
Moreover, the importance of a static-free environment cannot be overstated when it comes to CPU installation guide. Static electricity can cause irreversible damage to the delicate parts of a CPU. Implementing grounding techniques during CPU install and ensuring you’re equipped with anti-static gear are steps that safeguard your investment and ensure the longevity of your CPU.
Remember that the right preparation sets the stage for a successful installation. Avoiding hasty assembly and ensuring you have all necessary tools not only minimizes the risk of damage but also enhances your overall experience in avoiding mistakes during DIY CPU installation.
Choosing the Right CPU for Your Motherboard
Selecting the right CPU that matches your motherboard is akin to choosing a dance partner—compatibility is key. The synergy between CPU and motherboard determines not only the efficiency but also the potential of your build. Let’s dive into how to ensure this critical compatibility and where to find reliable information.
To ensure CPU and motherboard compatibility, first identify the socket type of your motherboard. This detail dictates the type of CPU it can support. Next, verify that the chipset supports the features you need, such as overclocking or specific RAM speeds. These compatibility checks are fundamental in preventing CPU pin damage and other installation mishaps.
Furthermore, reliable sources for compatibility information include the motherboard manufacturer’s website, where detailed specifications and supported CPUs are listed. Tech forums and review sites also offer insights and experiences from other builders which can guide you in making an informed choice.
Taking the time to research and verify before making your purchase can save you from costly errors and frustration. Remember, a little bit of homework goes a long way in avoiding mistakes during DIY CPU installation.
Why Handling Your Computer’s CPU Correctly is Crucial
The act of installing a CPU might seem straightforward, but it requires finesse and awareness of its vulnerabilities. Let’s explore why correct handling is imperative and what the potential consequences of neglect are.
CPU pins are incredibly delicate and can be easily bent or broken if handled improperly. This sensitivity necessitates careful handling and precise alignment when placing the CPU into its socket. Mishandling can lead to CPU mounting pressure issues which might permanently damage the processor or motherboard.
Moreover, the consequences of improper CPU handling range from the immediate inability to boot your computer to more subtle system instabilities that can plague your machine’s performance over time. Such issues underscore the need for meticulous attention during the installation process.
Understanding and respecting the delicacy of your CPU and its installation process are fundamental in avoiding mistakes during DIY CPU installation. By treating this component with the care it deserves, you set yourself up for success in your PC building venture.
This focus on detail, paired with the right preparation and tools, not only enhances your building experience but also instills a sense of confidence and accomplishment as you power on your newly built machine for the first time.
How to Handle a CPU Safely
Handling a CPU safely is a critical step in avoiding mistakes during DIY CPU installation. This delicate process requires precision, patience, and the right knowledge to ensure that your system’s brain is installed without any hitches. Let’s dive into the essentials of safe CPU handling.
First and foremost, always ground yourself to prevent static electricity and CPUs from meeting disastrously. Use an anti-static wrist strap or regularly touch a grounded object to dissipate any static charge. This simple step is crucial in preventing CPU pin damage and safeguarding your components.
When removing the CPU from its package, handle it by the edges without touching the pins or the top surface. This technique minimizes the risk of physical damage and keeps the delicate parts intact. Furthermore, before inserting the CPU into the socket, double-check the alignment. The corner marked with a small triangle should match a similar marking on the socket, guiding you in correct CPU socketing.
Moreover, place the CPU gently into the socket without applying unnecessary pressure. Misalignment or excessive force can bend the pins, leading to significant hardware issues. Once seated properly, lower the retention arm to lock the CPU in place, ensuring proper CPU seating.
Concluding this section, remember that handling your CPU with care is not just about following steps but understanding the gravity of each action you take. By adhering to these guidelines, you’re well on your way to a successful build, free from the common pitfalls of CPU installation.
Installing Your PC’s CPU Without Errors
The installation of your CPU is the cornerstone of your PC build, where precision meets precaution. Achieving a flawless installation not only boosts your system’s performance but also ensures longevity. Here’s how to install your CPU without errors, further emphasizing the importance of avoiding mistakes during DIY CPU installation.
Ensure your workspace is clean, organized, and free from potential contaminants. Start by verifying that the motherboard socket and the CPU are perfectly clean and free from debris. This cleanliness is crucial for CPU and motherboard handling tips.
Align the CPU carefully with the socket, noting the orientation indicated by the triangle markers. This alignment is pivotal in ensuring proper CPU seating and preventing mechanical damage. Once aligned, gently place the CPU into the socket without using any force. Misalignment here can lead to CPU mounting pressure issues, which are often tricky to resolve.
After the CPU sits comfortably in its socket, apply a thin layer of thermal paste to its surface. This step is vital for effective heat dissipation and is a part of the thermal paste application for CPU process. Even distribution of the paste ensures optimal thermal management, which is essential for high-performance tasks like gaming or video editing.
Finally, attach the CPU cooler, ensuring that it’s seated correctly and that the mounting pressure is even across the surface. Incorrect installation of the cooler can lead to overheating problems, crucial to manage in scenarios requiring high computational power, such as 4K video editing or high-performance gaming.
The meticulous attention to detail during the CPU installation not only enhances your PC’s performance but also prevents future issues. With these steps, you solidify the foundation of a robust and reliable system, ready to handle whatever task you throw at it, from budget CPUs for gaming to CPUs for high-end tasks like 4K video editing. By keeping these principles in mind, you are ensuring a smooth and error-free installation, pivotal in avoiding mistakes during DIY CPU installation.
Thermal Paste Application: Do’s and Don’ts
When building your own PC, the application of thermal paste is a pivotal step in avoiding common mistakes during DIY CPU installation. This seemingly small task plays a major role in your system’s thermal management, affecting both performance and longevity. Let’s delve into the do’s and don’ts of this crucial process, ensuring that every layer you apply contributes to a cool, efficient machine.
Why Thermal Paste is Important
Thermal paste, often overlooked, acts as a thermal conduit between your CPU and its cooler, eliminating air gaps that insulate heat rather than conducting it. Proper application ensures that your CPU remains at optimal temperatures, boosting its performance and durability. Conversely, too much thermal paste can act as an insulator, trapping heat, while too little won’t cover the entire surface needed for effective heat transfer. Both scenarios can lead to thermal inefficiency and potentially shorten the lifespan of your CPU.
Furthermore, understanding the importance of CPU cooler alignment and how thermal paste plays into this can prevent many common issues. An evenly applied layer ensures that heat is efficiently transferred from the CPU to the cooler, keeping your system running smoothly under load.
Applying Thermal Paste Correctly
Ensuring you apply thermal paste correctly is essential in avoiding common mistakes during DIY CPU installation. Here’s a breakdown of how to get it right from the start, from choosing the right type to applying the perfect amount.
The recommended pattern for applying thermal paste largely depends on the CPU type. For most CPUs, a pea-sized dot in the center will suffice, spreading evenly under the pressure of the cooler. However, larger CPUs might benefit from a line or an X pattern to cover more surface area. This step is critical in ensuring an even distribution across the entire CPU top, which is essential for optimal thermal conductivity.
Moreover, when spreading the thermal paste, use a tool like a plastic spreader or a clean, flat piece of plastic. This helps avoid uneven application and ensures that the paste covers the CPU uniformly without any air pockets or excess buildup. Remember, the goal is a thin layer that just covers the surface; think of it as frosting a delicate cake where less is often more.
Taking the time to apply thermal paste correctly can significantly enhance your system’s thermal management. A well-applied thermal barrier ensures that your CPU operates within safe temperature ranges, boosting its performance and longevity. By following these guidelines, you’re not just assembling parts; you’re crafting a system designed to run efficiently and reliably.
What to Check After Installing Your CPU
After you’ve installed your CPU and applied thermal paste, it’s crucial to check that everything is in order for a successful system start-up. This final stage is vital in avoiding common mistakes during DIY CPU installation and ensures that your efforts result in a smoothly running machine.
Firstly, verify that the CPU is securely seated and the cooler is mounted correctly. An improperly seated CPU or loosely fitted cooler can cause significant issues, including overheating. Furthermore, double-check all connections, including power leads and fan connections, to ensure they are secure and properly oriented.
Additionally, boot up your system to enter the BIOS. Check for the detection of the new CPU and monitor the system’s temperature readings. This initial boot is a crucial moment to catch any potential issues early, like thermal paste application for CPU errors or CPU compatibility check oversights.
A thorough post-installation check not only safeguards your build but also sets you up for fewer headaches down the line. By meticulously reviewing each step, you ensure that your computer is not only built but built well, ready to handle whatever tasks you throw at it, from everyday computing to intensive gaming.
Common Mistakes Of DIY CPU Installation and How to Avoid Them
Diving into the world of DIY computer assembly can be thrilling, yet fraught with potential pitfalls. Understanding and avoiding common mistakes during DIY CPU installation can be the difference between a smooth setup and frustrating setbacks. Here’s a guide to navigating these waters safely, ensuring your build is as efficient and effective as possible.
Step 1: Incorrectly Aligning CPU Pins
One of the most common errors is improper alignment of CPU pins with the motherboard socket. To avoid bending pins, carefully align the notches or triangle markers on the CPU with the socket before insertion. This precision ensures a secure and correct fit, safeguarding your CPU’s delicate pins from damage.
Step 2: Applying Too Much Thermal Paste
While thermal paste is critical for conducting heat away from the CPU, too much can be counterproductive, creating a barrier that retains heat instead of dissipating it. Apply just a pea-sized amount—or a line, depending on the CPU model—to achieve the optimal thermal connection between your CPU and its cooler.
Step 3: Overlooking BIOS Updates
Before adding a new CPU, ensure your motherboard’s BIOS is updated. An outdated BIOS can lead to compatibility issues, preventing your system from booting. Checking the manufacturer’s website for updates prior to installation can save you a great deal of trouble.
Step 4: Neglecting System Testing Post-Installation
After installation, many users are eager to jump straight into using their system. However, taking the time to perform a comprehensive system test, including a stress test for temperature and performance, is crucial. This step can reveal any underlying issues with thermal paste application for CPU or installation that may otherwise go unnoticed.
Step 5: Forgetting to Ground Yourself
Static electricity is a silent enemy of electronic components. Always wear an anti-static wristband or ensure you are grounded when handling internal components, especially the CPU. This simple step helps prevent static discharge that can damage your hardware.
These steps are foundational in avoiding common mistakes during DIY CPU installation. Each precaution not only protects your investment but also optimizes the performance and longevity of your PC.
Wrapping It Up!
Reflecting on the journey of assembling your own PC, the importance of meticulous preparation and execution cannot be overstated. The excitement of manually building a system is unparalleled, and with careful attention to detail, it can also be a rewarding and successful venture.
Encouragingly, taking the process slowly and adhering closely to installation guidelines reduces the risk of mishaps. Each step, from selecting compatible components to applying thermal paste correctly, contributes to the overall success of your build. By embracing these practices, you can significantly reduce the likelihood of encountering common issues.
Finally, overcoming the fear of making mistakes starts with being well-prepared. Equipped with the right knowledge and tools, every DIY enthusiast can confidently navigate the complexities of CPU installation. Remember, the journey of building your own PC is not just about following instructions; it’s about learning, adapting, and achieving a deep sense of accomplishment. Embrace this process, and you’ll find that avoiding common mistakes during DIY CPU installation becomes second nature.
Related FAQs
Can I Reuse Thermal Paste When Installing A CPU?
No, it’s best to apply fresh thermal paste for optimal heat dissipation.
How Do I Know If My CPU Is Compatible With My Motherboard?
Check the CPU and motherboard specifications for socket compatibility.
What Should I Do If The CPU Pins Are Bent?
Carefully straighten the pins using tweezers or a small tool, but proceed with caution to avoid further damage.
How Tight Should The CPU Cooler Be Mounted?
Tighten the cooler until snug, without over-tightening, to avoid damage to the motherboard.
Is It Necessary To Update BIOS After Installing A New CPU?
Yes, updating the BIOS ensures compatibility and optimal performance with the new CPU.

At our core, we’re a group of passionate tech lovers, just like you. We dive deep into the world of tech, especially when it’s about building PCs that perform. We try to provide as much value to the readers with our information and how to blog articles as possible. For affiliate articles our honest and transparent reviews of essential tech products are rooted in real-world experience. We take great satisfaction in offering unbiased evaluations, ensuring that you can make informed decisions when investing in your desired techs. As an affiliate website, we may earn a small commission from some of the products we feature. However, rest assured that our opinions are not influenced by this, and your trust is always our main priority.

